Hey,
It’s Sarvar Nadaf again, a senior developer at Luxoft. I worked on several technologies like Cloud Ops (Azure and AWS), DataOps, Serverless Analytics, and DevOps for various clients across the globe.
We’re looking at the step-by-step procedure for creating an EC2 instance on the AWS Cloud today, so we hope you’re doing fantastic. I’m trying to provide a step-by-step tutorial so you can create an EC2 instance from scratch on the AWS Cloud without any prior experience. I’m adding one user data, which will be used to host a simple static website. Simply follow the steps listed below to understand the EC2 installation procedure.

Lets start….
Step 1:
When you are logged into the AWS console, you may view the dashboard as shown in the image below. You may view all of the services, billing information, and account information here.

Step 2:
Here we are searching the EC2 in the search bar so it will land you to the EC2 Instance dashboard.

The EC2 dashboard appears here. Its primary dashboard allows us to view the global EC2 dashboard as well as the other resources. All EC2-related services, including instances, images, volumes, and security, are available here.

Step 3:
This lunch instance option will help us to launch the EC2 instance.

Once you click on the launch instance it will land you to the page where you can fill the required thing to create EC2 instance. We are providing friendly name here called test.

Step 4:
This is the most important step where we have to choose the AWS AMI. Amazon is offering all the flavors of the operating systems as showing below. we are going with the Amazon Linux 2.

Step 5:
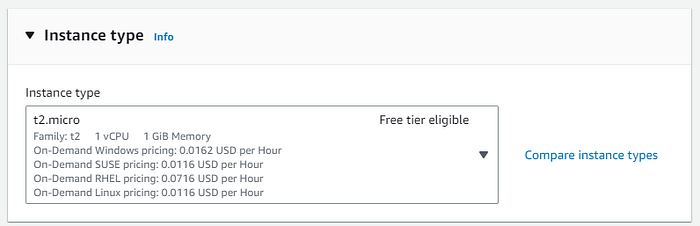
We must select the instance type at this point. While we are new to this, we are going with the default free tire option, which is a t2.micro instance. Amazon offers multiple instance types with various usage cases.
Step 6:
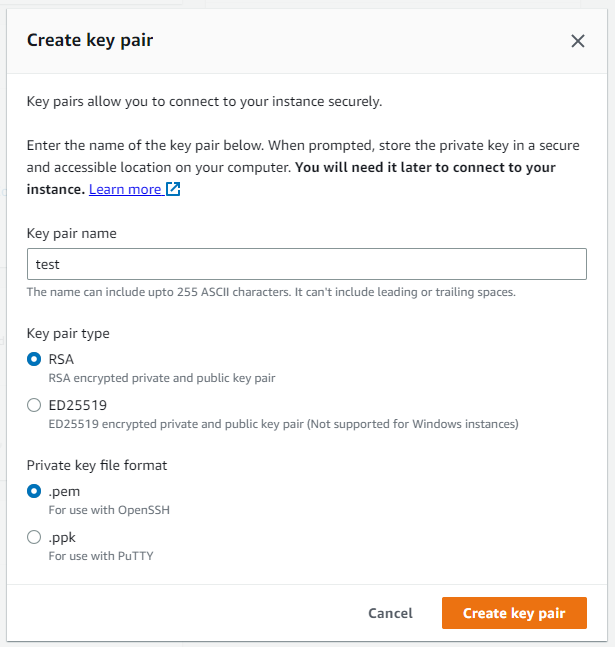
This essential step is needed to create the Key pair. We are able to log into the EC2 instance with the help of the Key pair.

You will see this pop-up window after selecting “create new key pair.” To create a key and download it to your local machine, simply enter the key name you want to use and select the default values.
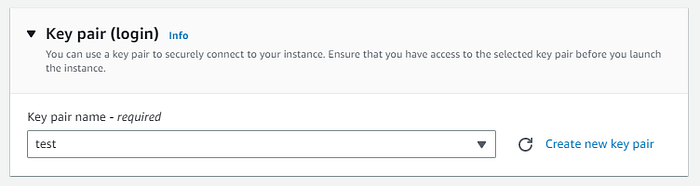
When you create a key and then click the downward pointing arrow, the key you created using the previous option will populate there.
Step 6:
In this section, we configure the networking for this instance. Simply choose Allow HTTP traffic from the internet and leave the default settings.

Step 7:
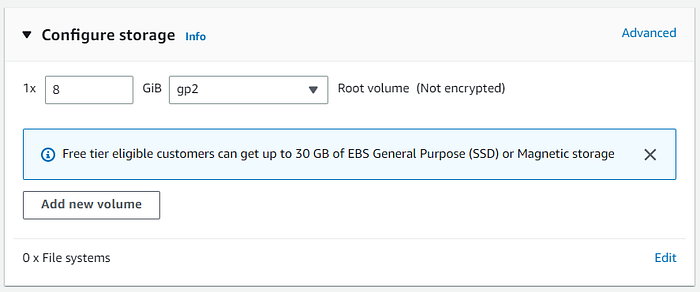
Simply leave all storage settings alone. You can mount the volume to the EC2 Instance if you’d like. increase the Root volume, as well.
Step 8:
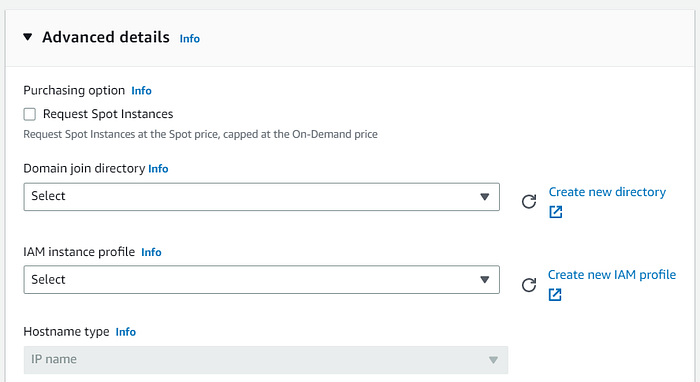
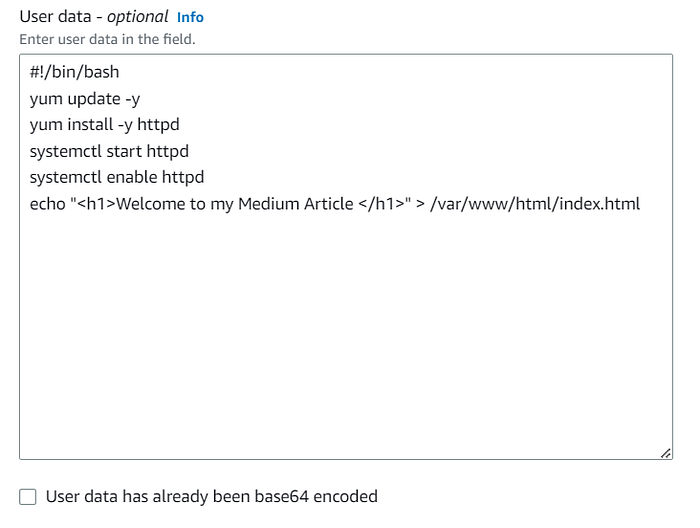
We have more flexibility to use EC2 Instance for more things thanks to the Advanced Details feature. When building the simple static website, we use user data. On our EC2 Instance, we are installing it using the bootstrap script. Feel free to skip this option if you don’t want to take any action.
#!/bin/bash
yum update -y
yum install -y httpd
systemctl start httpd
systemctl enable httpd
echo "<h1>Welcome to my Medium Article </h1>" > /var/www/html/index.html
For hosting a simple static website, this user data is used.
Step 9:
This is the final Summary of the instance.

Step 10:
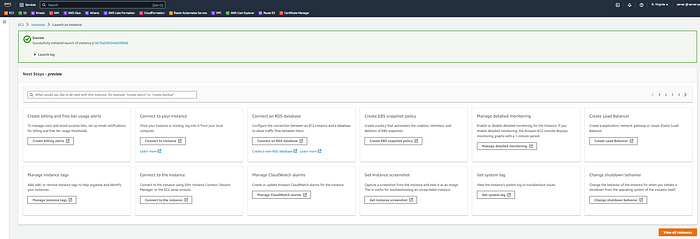
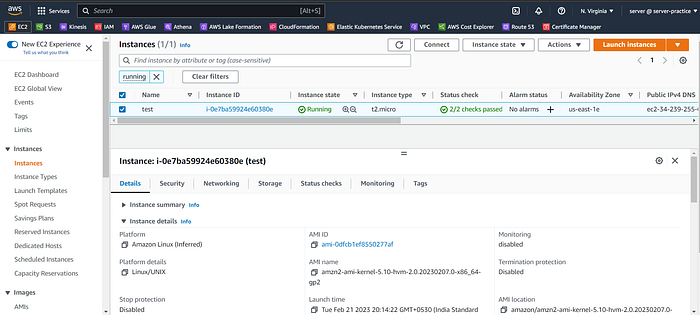
Once the EC2 instance has been successfully launched, you will be able to view it running. To view all the necessary information about the EC2 instance, such as security, networking, storage, tages, and monitor, simply click on the square box. Clicking on each option will provide additional information about it.
Step 11:
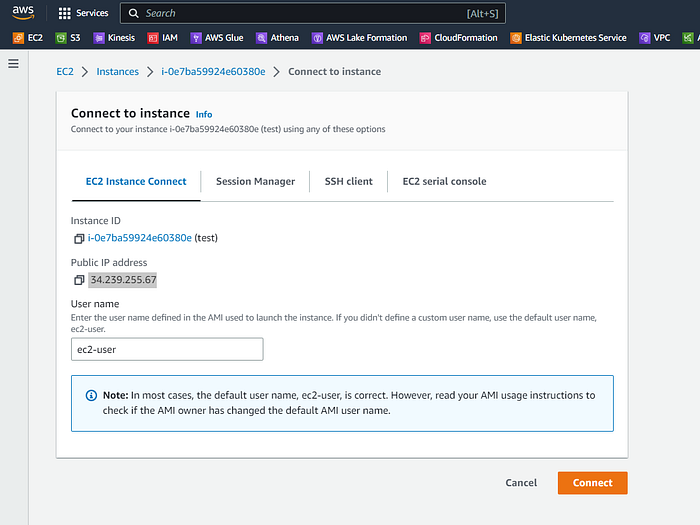
You will see the Connect option on top. You can connect to the instance directly. As soon as you click, a variety of options for connecting the EC2 instance will appear. opt for EC2 Instance Connect. just leave the default settings alone. After you click Connect, a new window will open and you can connect to an EC2 Instance.
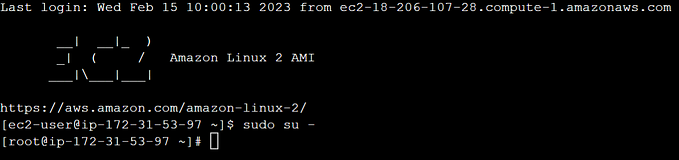
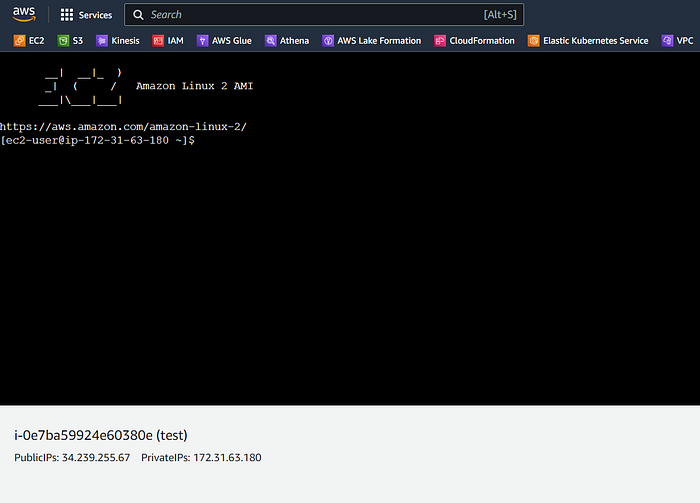
You will see the command line interface for our EC2 instance below once you have connected to the EC2 instance.
Step 12:
This is the last step we’re going to look at; we just copied the EC2 instance’s public IP. You can quickly access a simple website with a personalized message by pasting that public IP address into the search bar and pressing Enter. Now you will able to see the message as showing below.

congratulations! You have finished setting up an EC2 instance step by step. We built the EC2 instance from scratch and used the User Data capability to build a simple static website. Stay tuned as we explore more and more articles like this.
— — — — — — — —
Here is the End!
I hope you like my article. I’m going to share my knowledge with you in order to make it easier for you to grasp AWS Cloud. I’ll be publishing more articles like this soon.
happy studying!